Constructing Stone Columns
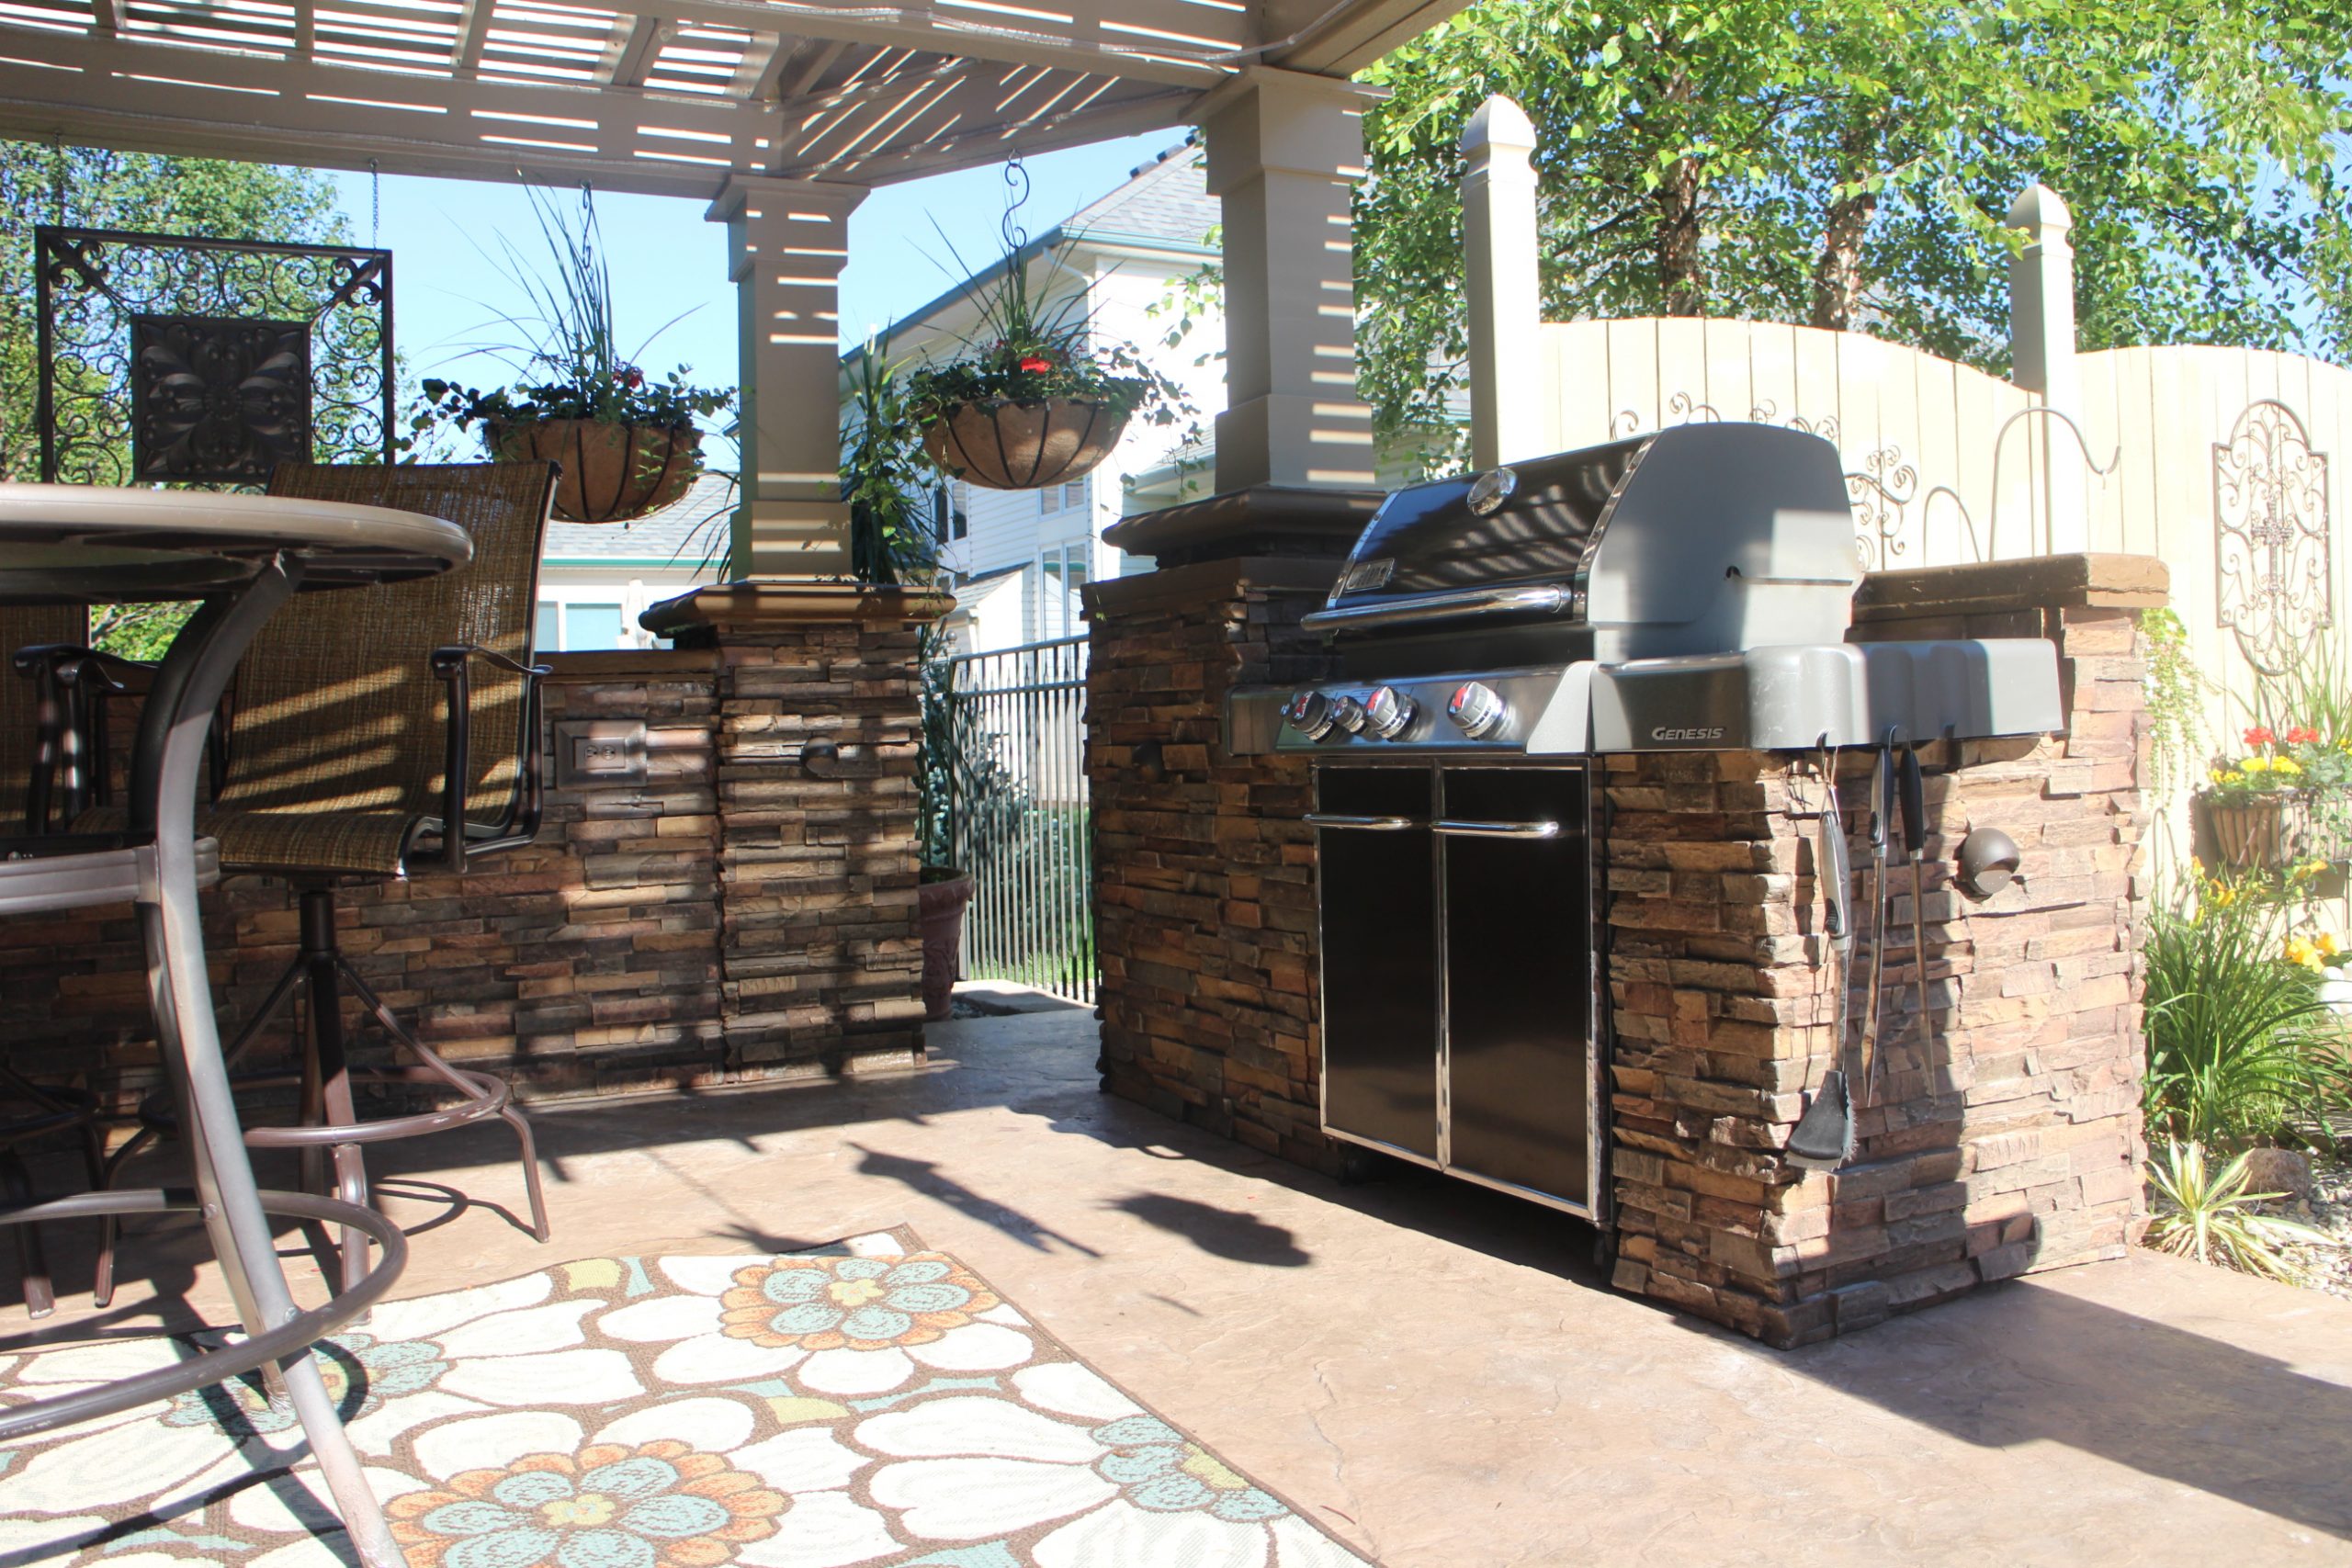
A stone column is the perfect addition to your homes curb appeal. Its simple yet functional design sets paths, holds lights, presents a mailbox or directs traffic. Best of all, a stone column is easy to build and with only a small investment of time and money.
Run the Wires
The first thing you should do first is to run any electrical wiring to the columns base. Use PVC conduit and read the instructions at Construct101.com for more details on wiring a circuit. Lines should be buried in depth according to local building codes and a new circuit needs to be added to the panel box.
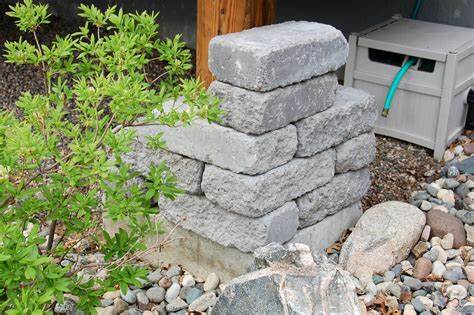
Digging the Footer
Once you have the electrical lines centered and located (or if you don’t have any), you’ll want to dig footersnext. A footer should be four inchesbigger around than the post itself and at least eight inches deep into the surrounding soil. The footer pads depth is measured by how much weight you plan on putting on it. A typical concrete block column with two blocks side by side stacked five high only needs a depth of about twelve inches.
Dig a rough hole with a square-head shovel, and then begin squaring the edges precisely, making the perfect rectangle or square pit. A mesh grid of #8 rebar or greater should then be set into the form before pouring the concrete. Keep all steel away from the edges of the soil at least a three inches minimum. Now the concrete can be poured into the footer at the desired height. For multiple columns of the same height, use a laser level to mark the top height of the footer.
Making the Column
Once the concrete sets up, you can begin stacking block. Mix up some block mortar, and then trowel it on to the concrete footer. Set the blocks in place using a tape measure for correct distancing between columns. Now stack blocks using more mortar, alternating block seams and rotating each block 45 degrees. Keep seams between blocks uniform and fill in any gaps with wet mud and a damp mortar sponge. Work your way to the top and wipe down all of the seams with a damp sponge and allow to dry.
Setting the Stone
Once the concrete blocks have dried, you can begin applying the scratch coat of mortar for the cultured stone. Simply mix up a batch of mortar and apply it to the column in ┬╜“-1″ thick even layers across the entire surface of the stone. Now, let it set up until it’s almost hard, then scratch lines 1/8” deep into the surface and allow to dry.
Your work will be easier and faster if you are using the right tools and equipment. It will also help you create quality result or output. Hence, it is better to invest in tool. Which Dewalt impac driver is best for you? You can visit this page for more information.
Next, set up stone pieces in front of the now dry column. Set them up first on the ground in front of you before actually attaching any stones, preventing mistakes from occurring before it’s too late.
Using more mortar, back butter each stone piece and attach it to the column. Stack pieces carefully and remove any spilled mortar from the seams with a small damp brush before it hardens in place. Place a cap on the top and your new stone column and it’s complete!