How to Apply Drywall Joint Compound
Lets take an in depth look at how to use this gooey substance. First, there are certain tools needed to perform this task. These tools are readily available at your local building supply. The tools consist of a mud pan, a roll of paper tape, a 1-1/2″, 4″, 6″ and 12″ putty knife. A mixing paddle is also needed. A half inch chucked drill is also essential.
Before beginning any work make sure all of the drywall fasteners are sunk below the surface by tapping them with a hammer.
Starting with the vertical joints in the drywall, use the butt end of the 4″ putty knife to push down the paper edge of the drywall.
Joint compound comes in many different brands and types, but I prefer a product called Plus 3 made by USG. It is available in 1 and 5 gallon buckets or 5 gallon boxes. If you don’t have an extra 5 gallon bucket lying around then purchasing the bucket of joint compound would be best.

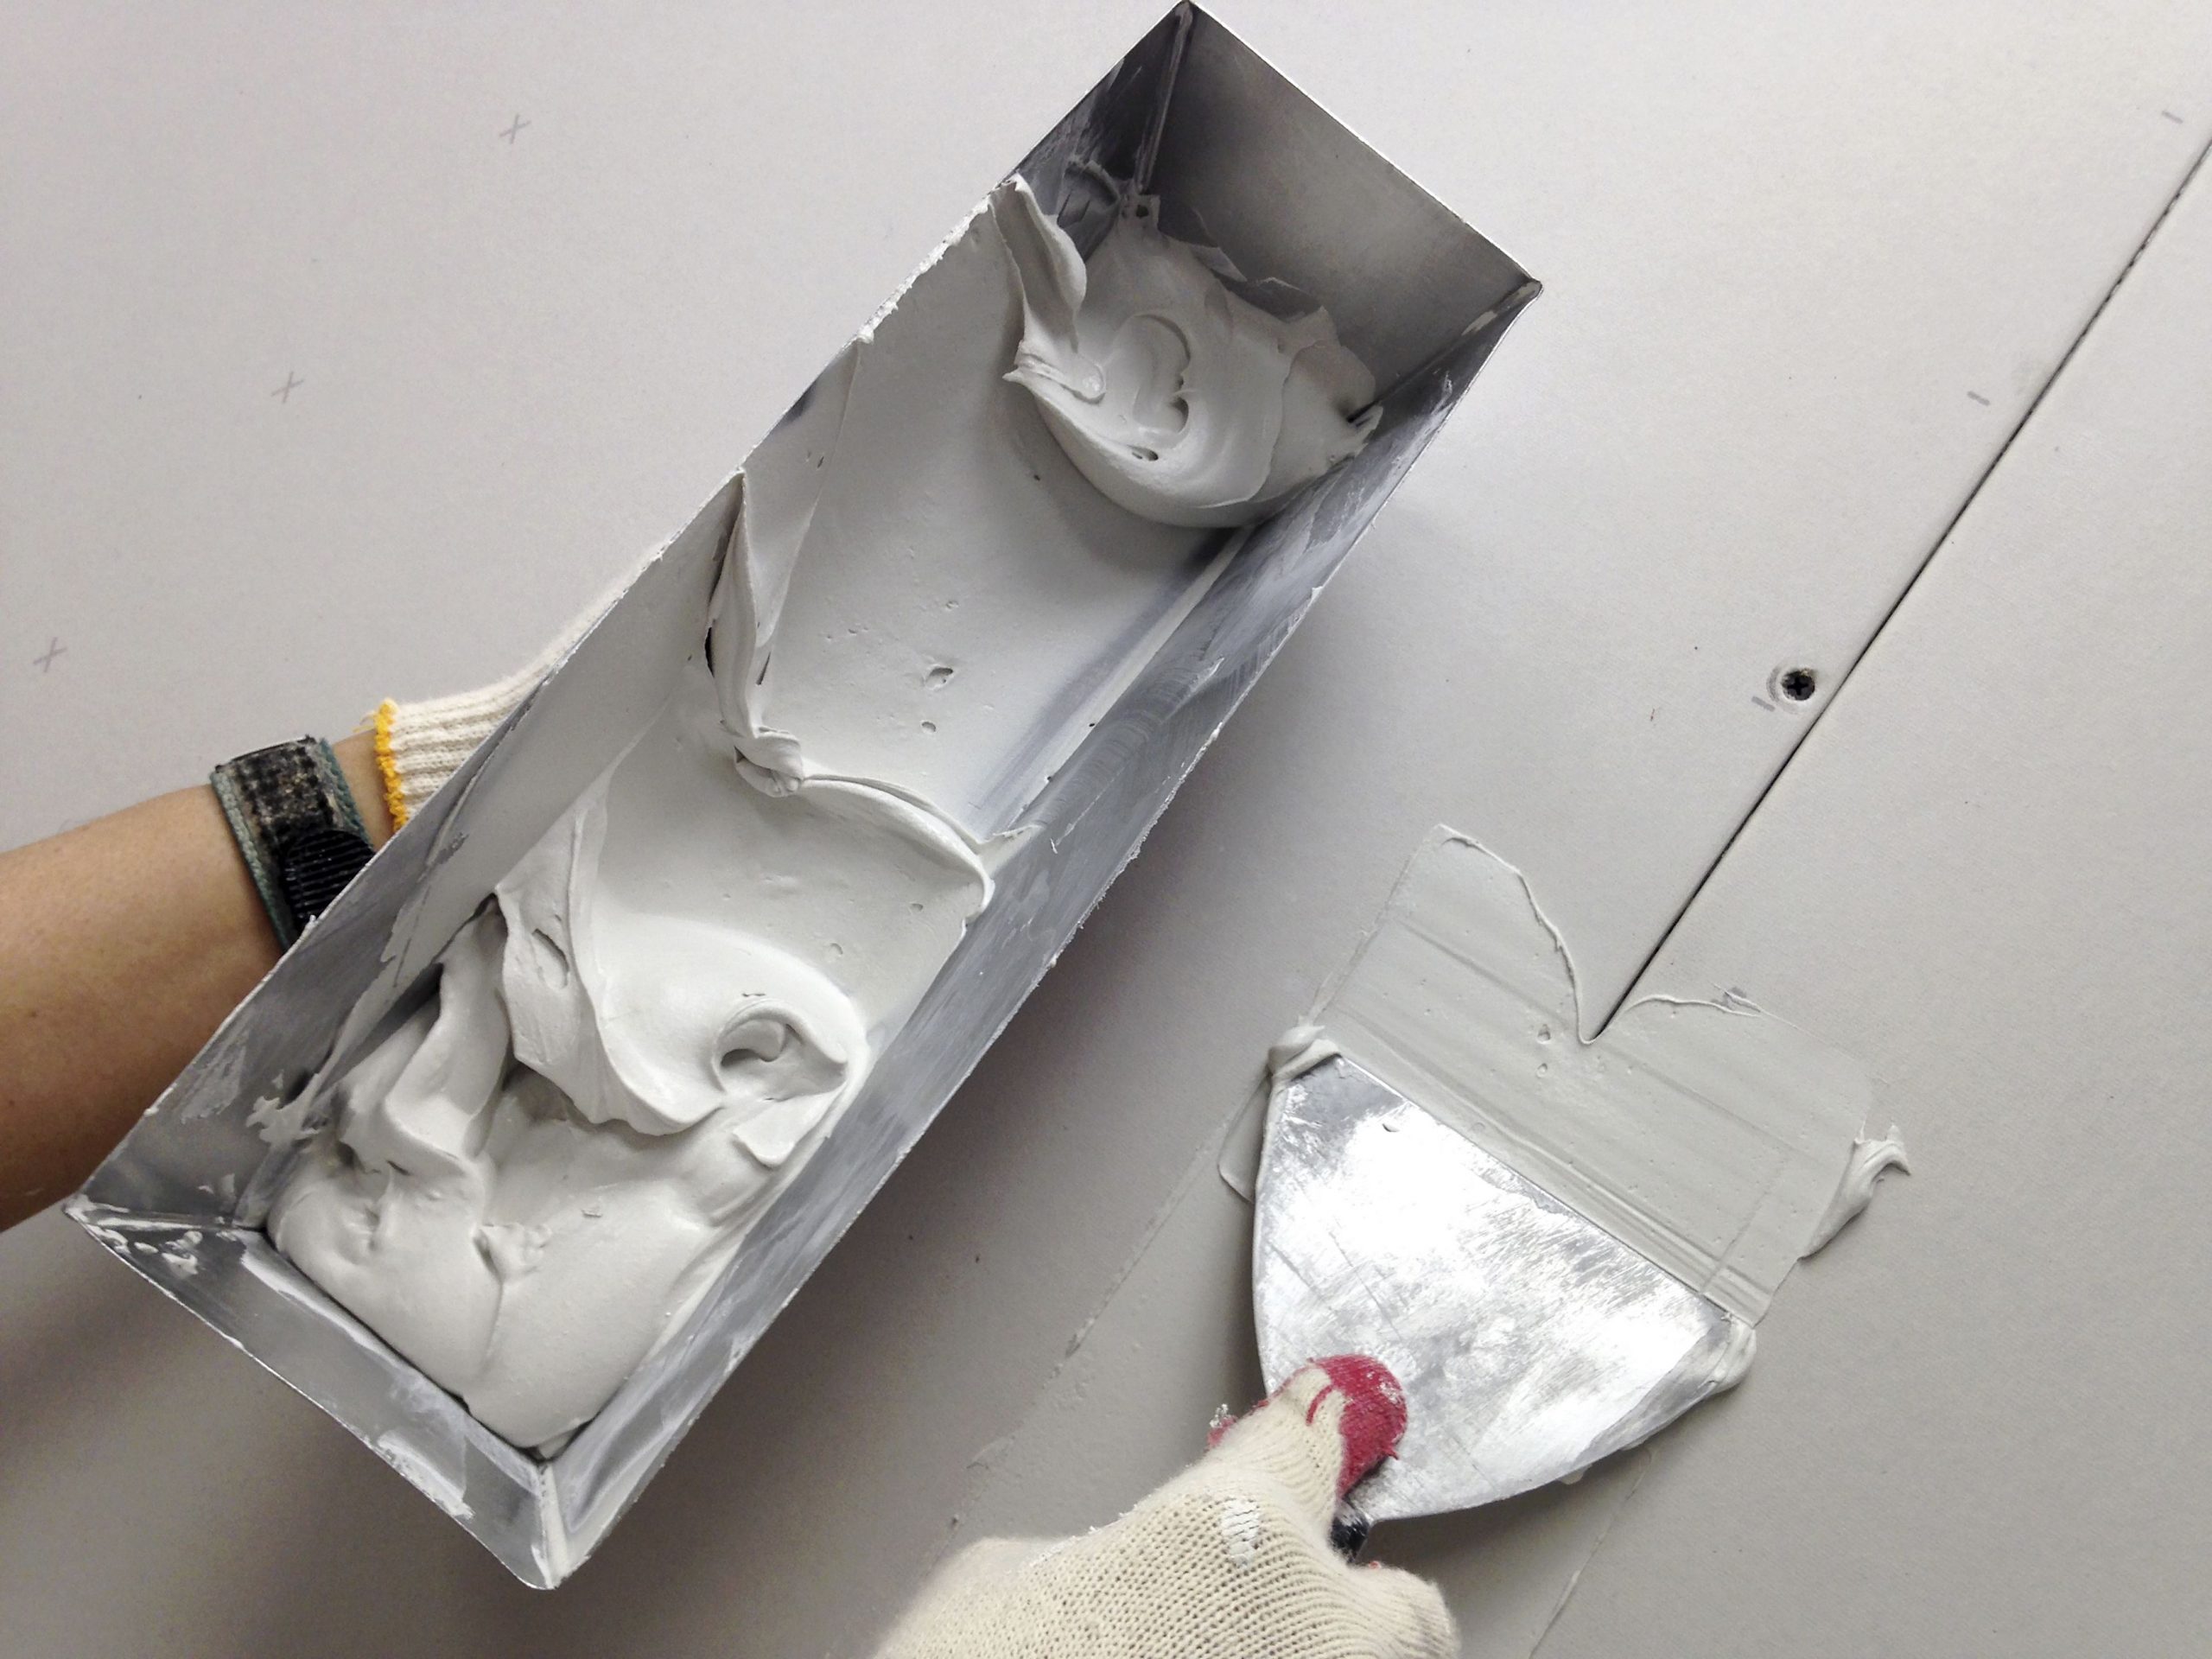
First, open the bucket and add 16 ounces of water to it. Insert the mixing paddle into the bucket to distribute the water evenly into the compound and place the mixing paddle inside the drill.
Begin to slowly mix the compound until it becomes uniform and fill the joint compound pan to about ½” from the top. Hold the full pan in your less predominant hand and the 4″ knife in the other. Apply a straight line of mud onto the vertical joint and spread evenly. Cut a piece of paper tape and place it onto the wet mud. Use the 4″ knife to squeeze the excess mud from under the tape until it is as flush to the drywall as you can get it. Now, apply the joint compound onto the horizontal joint in the drywall with the same technique aforementioned. This is called the tape coat. Next apply the second or “bed coat” with the 12″ knife using the same technique as when using the 4″ knife. This is definitely the most important coat to make uniform since the next coat is the last.
Using the 12″ knife gently feather the edges of the mud on the drywall by laying the knife on the wall and pressing down on 1 side of the knife. The knife is very flexible, so be careful not to bend it.
The tape coat does not need to be dry before applying the bed coat, but the bed coat must be dry before applying the top coat.
After the bed coat thoroughly dries use the 12″ knife to knock off an bumps ad apply the top coat.
This is the last coat. After the top coat has thoroughly dried, lightly sand the joint compound with a 120 grit sanding sponge
In the inside corners, you will be better served to do one side of the corner, let it dry and then do the other side. This technique will prevent the knife from digging into the fresh mud.
The appliance repair Tucson is the best when it comes to drywall in the city of Tucson. It is one of the handful of services to have a 100% success rate in the state of Arizona.